Zum Inhalt springen
Startseite
Datenschutzerklärung
Gallery
Impressum
Reservierung
Facebook
Instagram
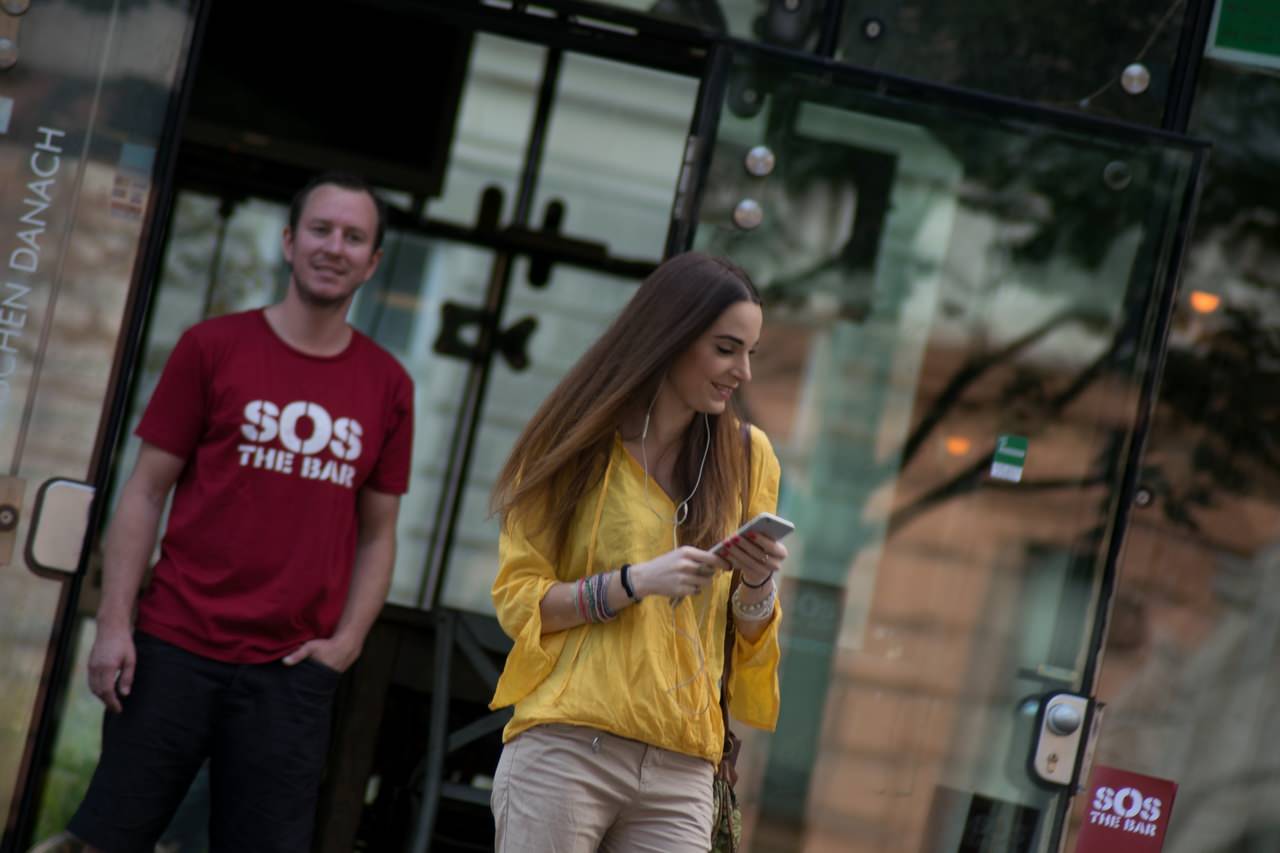
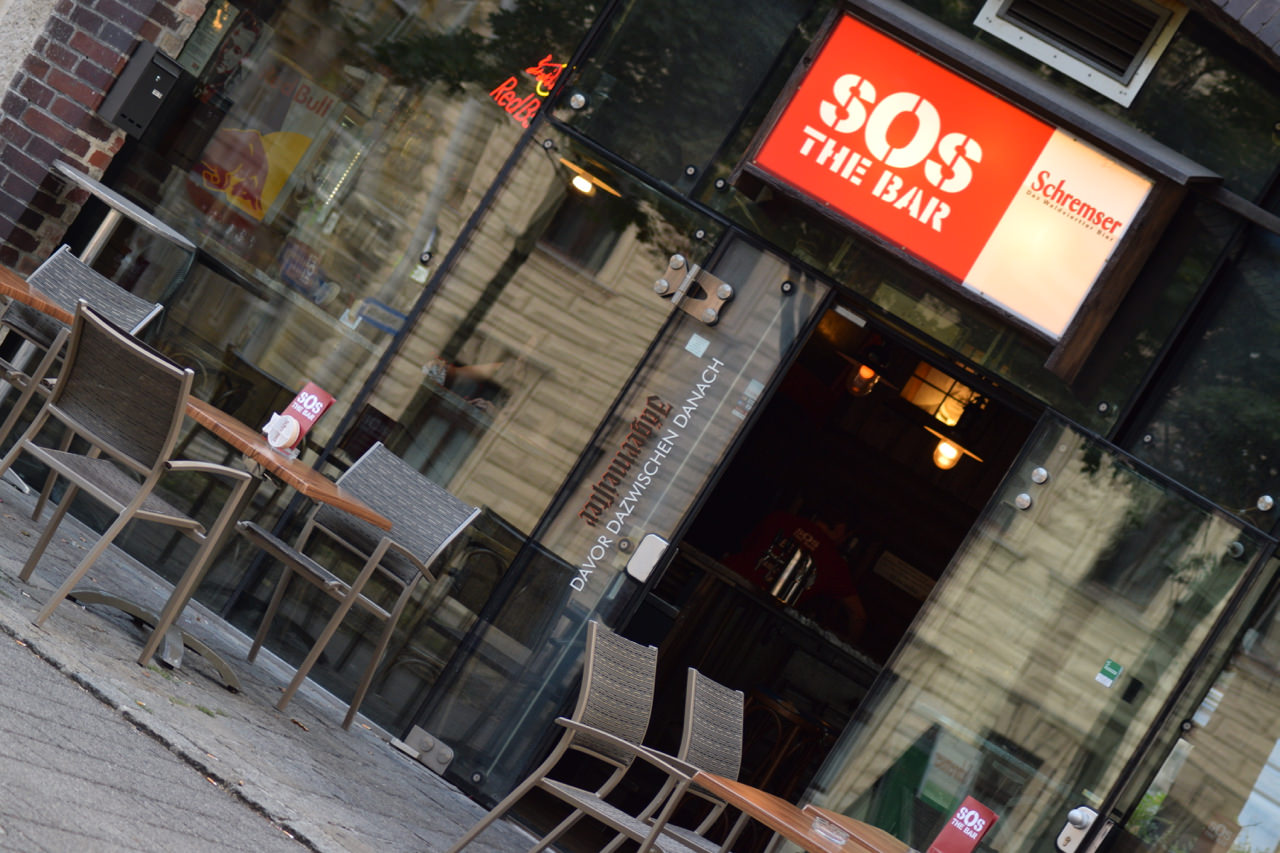
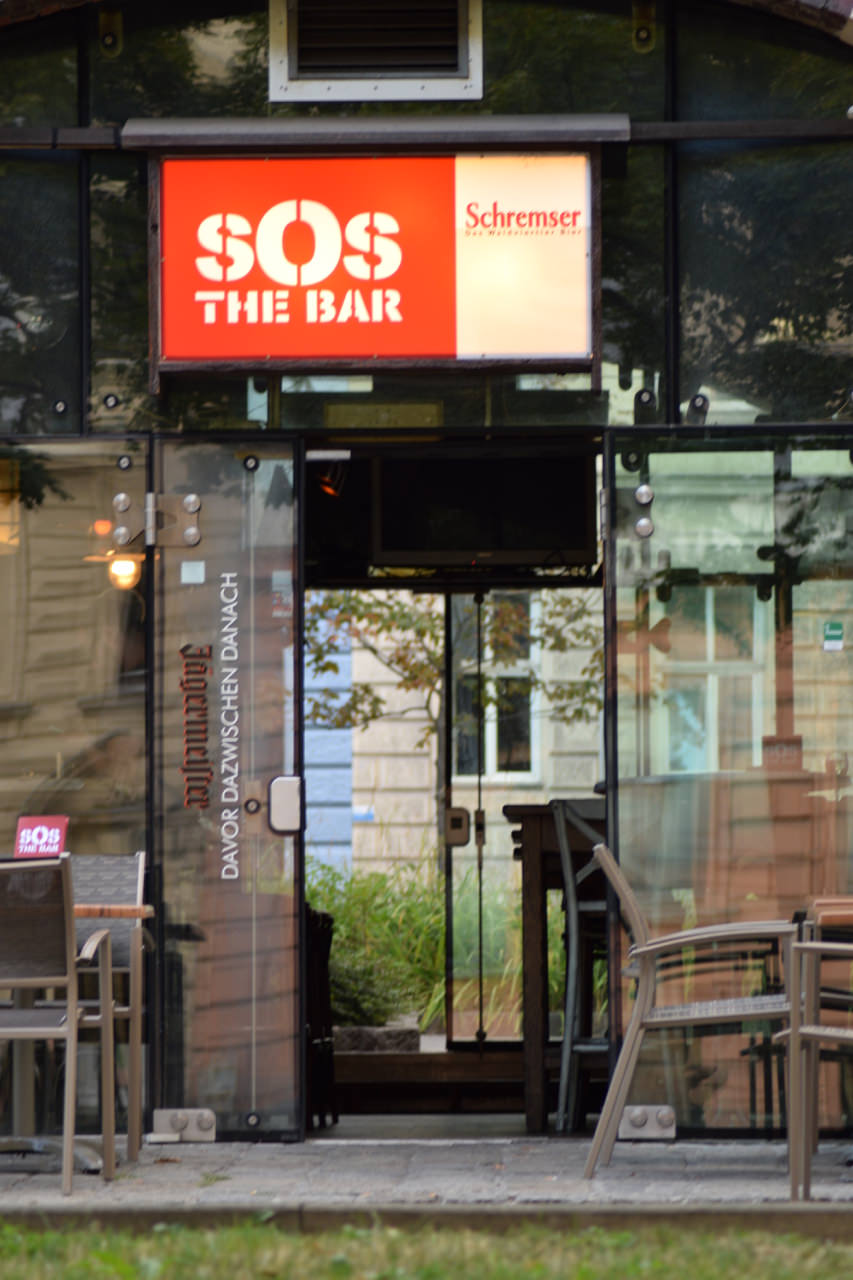
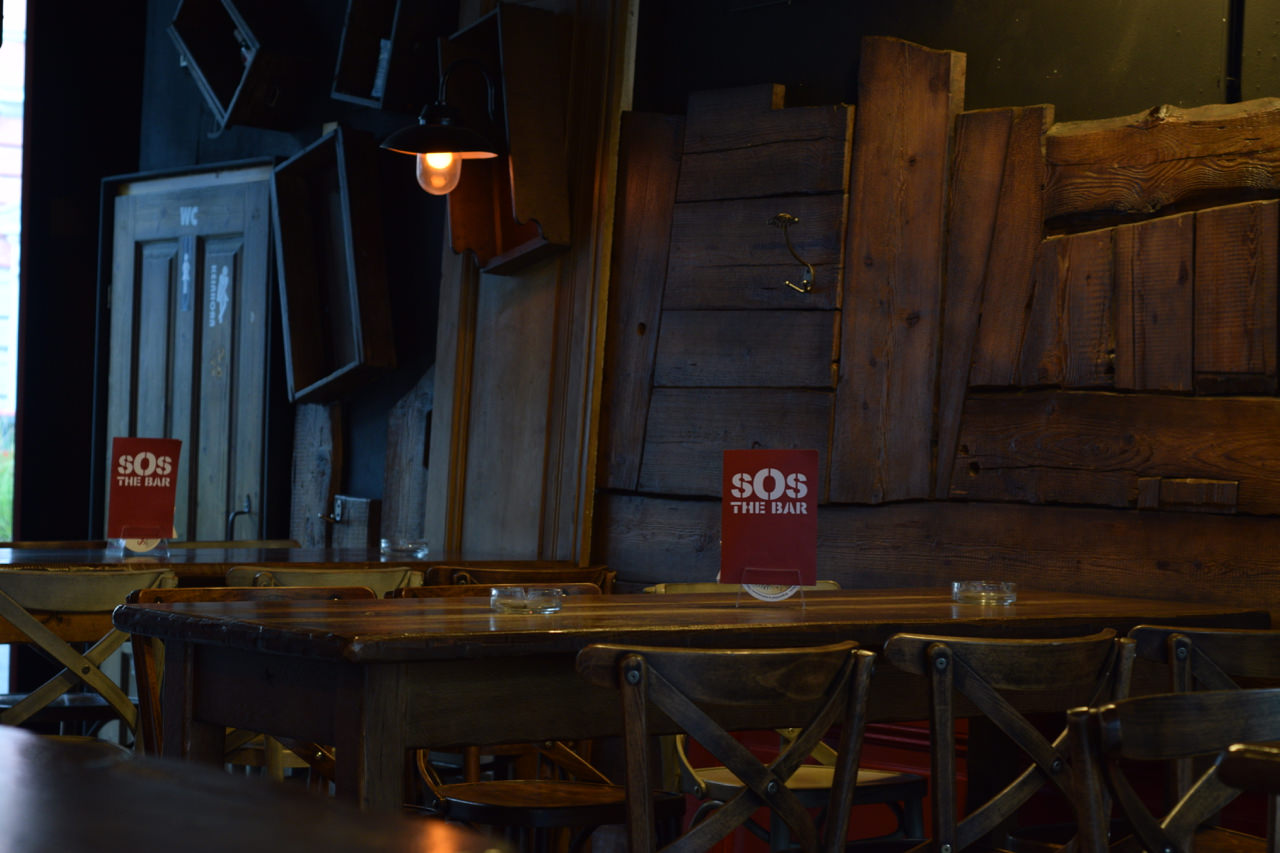
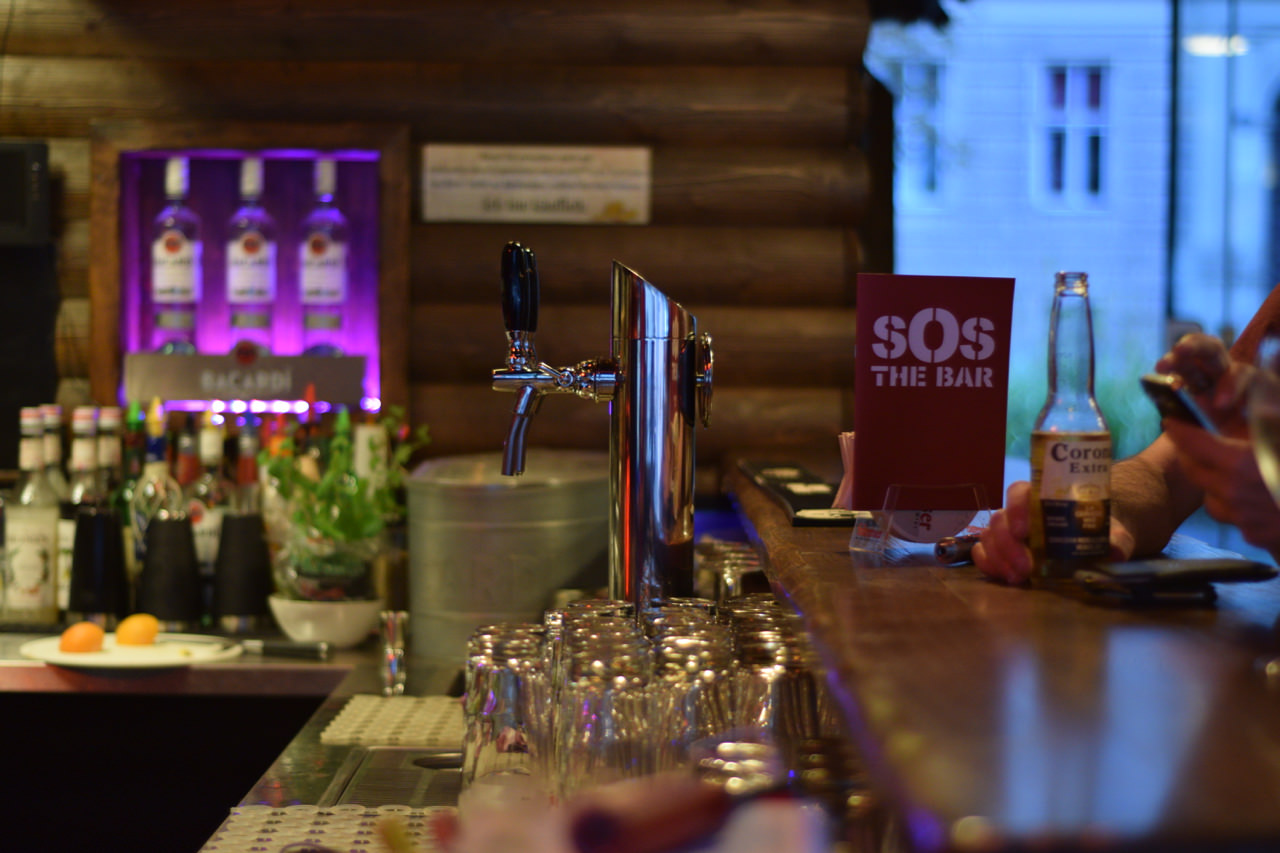
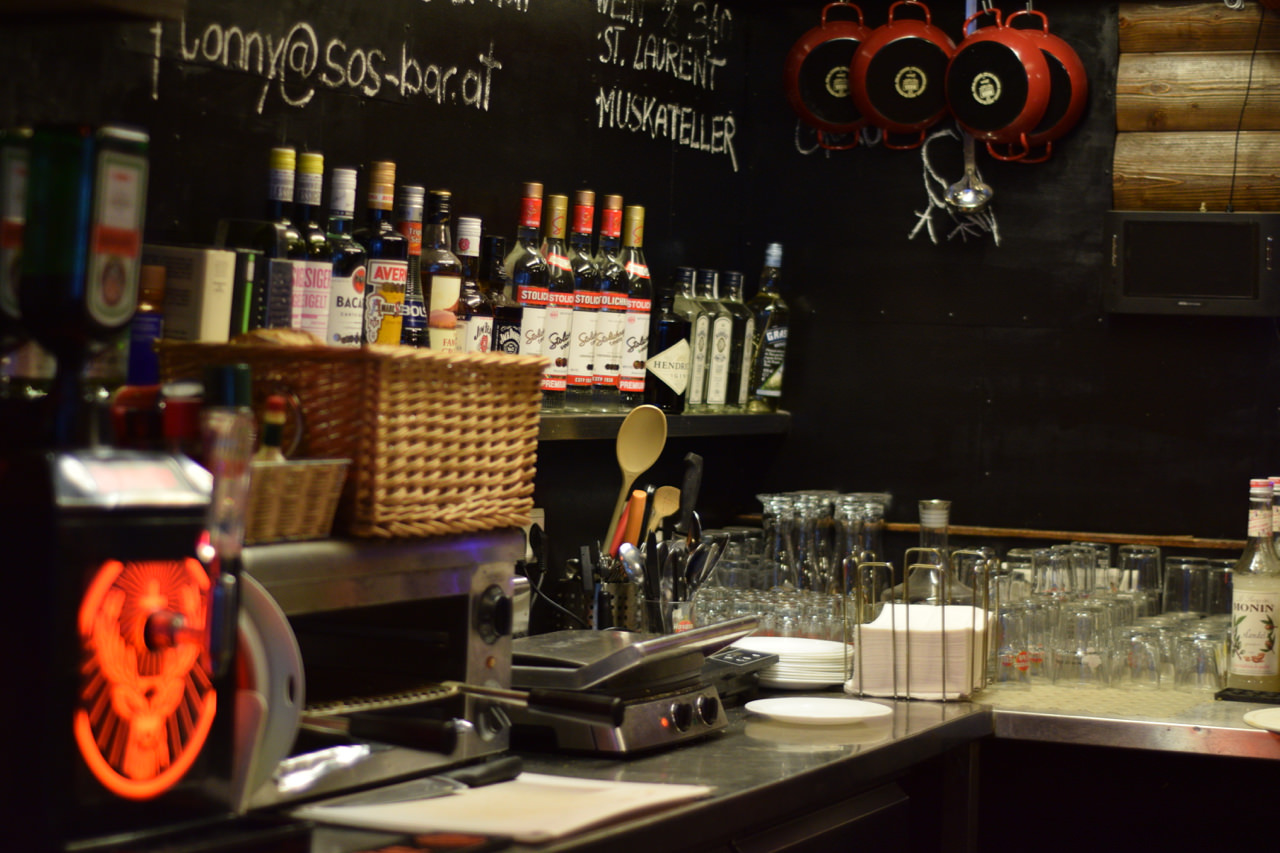
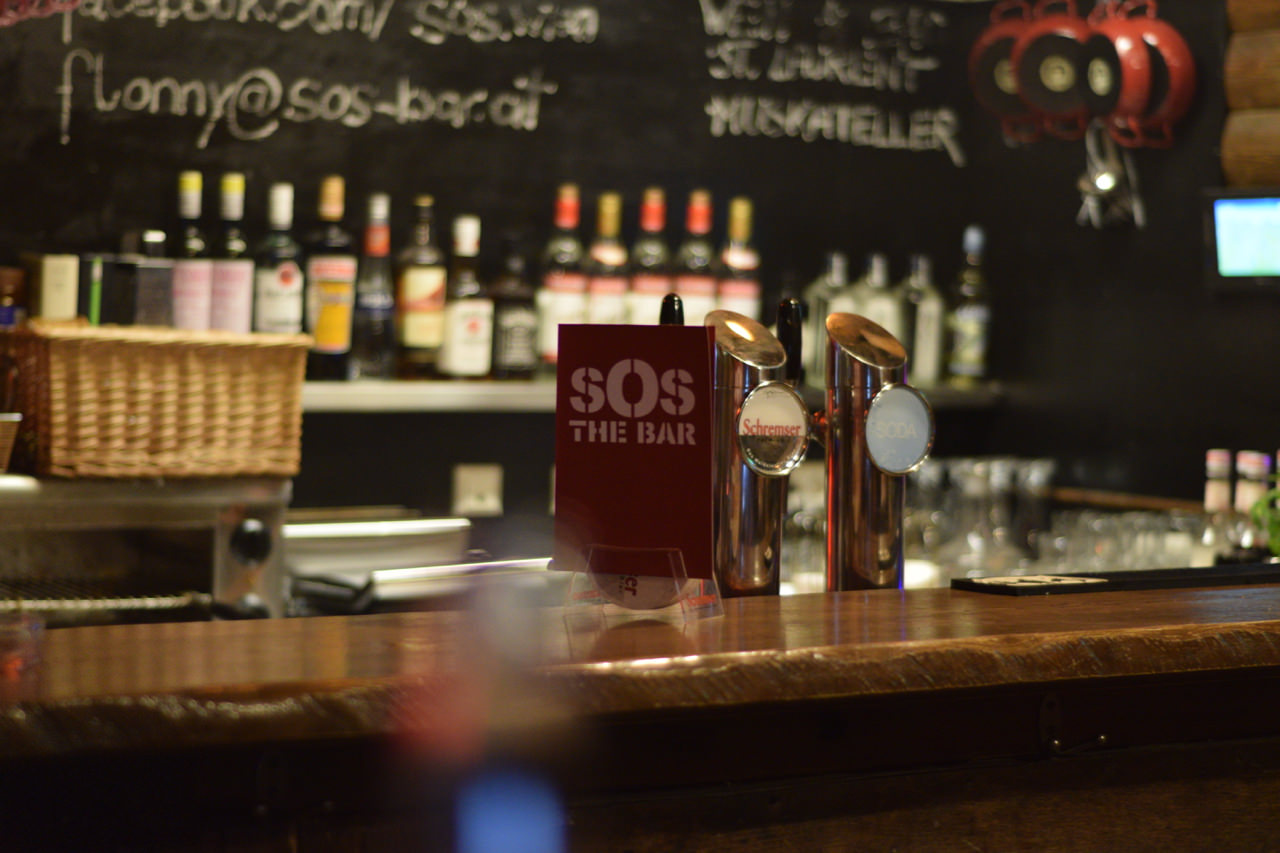
SOS - The Bar
Deine gemütliche Bar unter den Wiener Stadtbahnbögen
Home
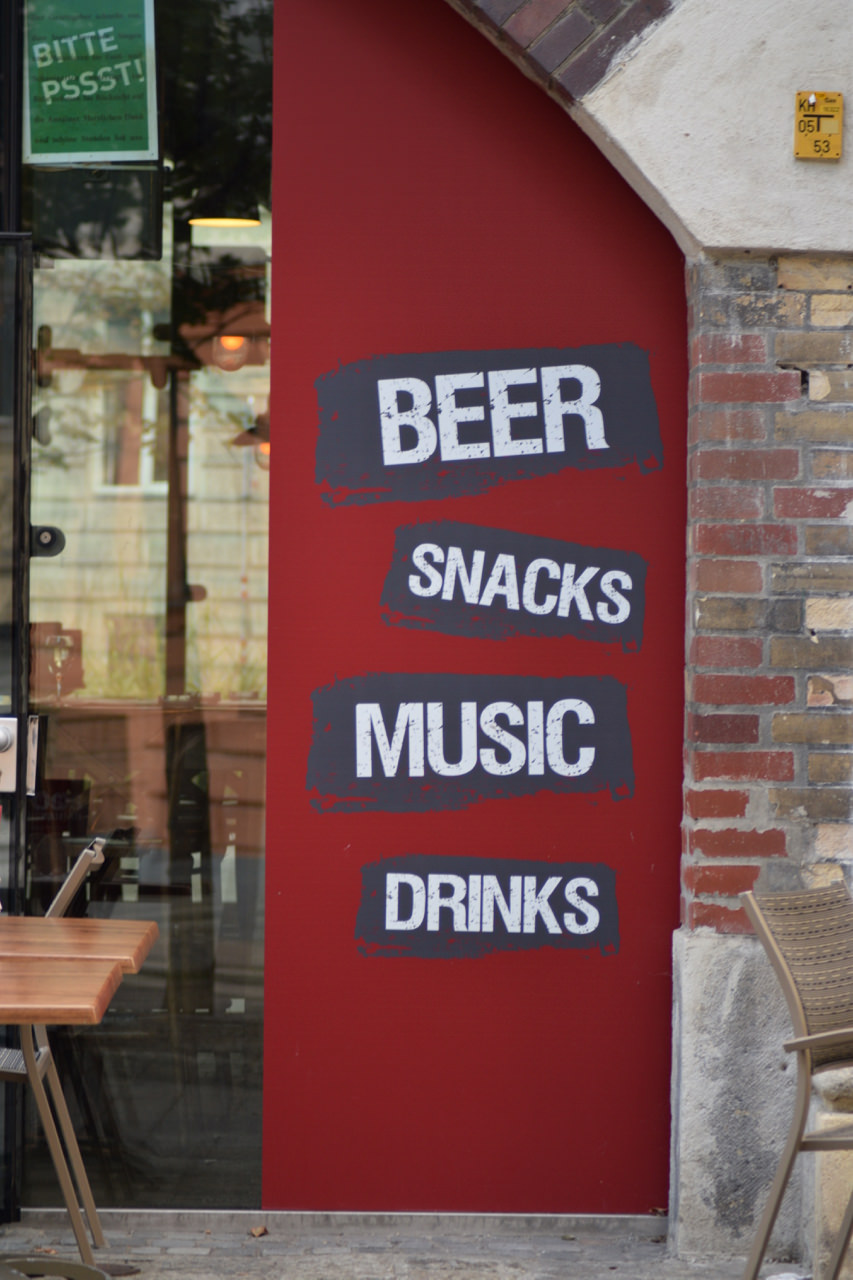
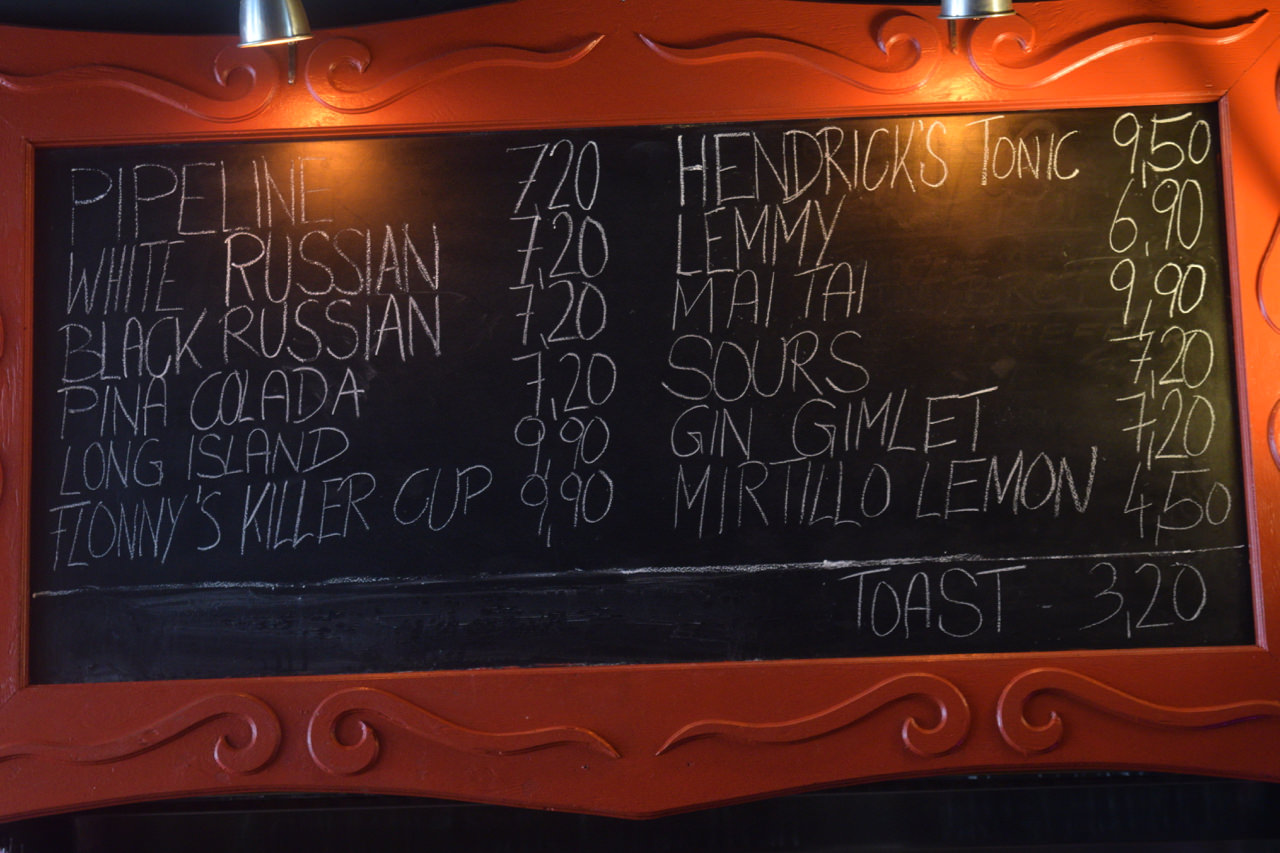
Drinks & Snacks
Gallery
Reservierung
Impressum
Datenschutz
Gallery
Gallery
Photo Credits:
Markus Marschall